
The Black silk and the Flyswatter
- Greg Kendrick
- September 19, 2023
In all my years of working in this industry I had never used the BLACK SILK, or saw the need for it quite frankly, until now. While my approach to exteriors is driven by the appropriate look, my go-to has usually been the Full Silent Grid (white). For a more stylized look I will use the Ultrabounce to completely block out the sun.
The Silent grid transmits a fair amount of light, keeping the scene light and bright. This might become problematic when shooting a subject that is bald, as the reflections in the head could appear much too bright and unnatural. I have sometimes remedied this by simply throwing a 4×8 sheet of foam core on the overhead in the area of the diffusion that is being reflected by the subject’s head.
Completely blocking out the sun with an Ultrabounce is also a great way to go. I usually like the white side down so I have a little reflectivity, but sometimes I choose to put the black side down when I want a contrasty look.
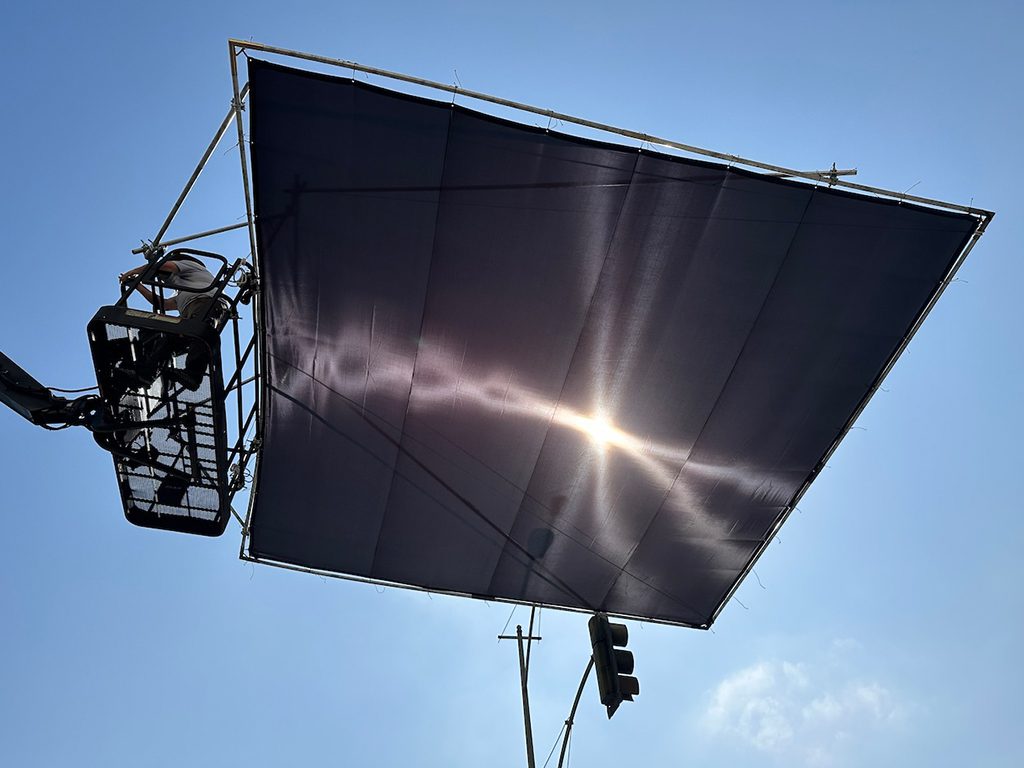
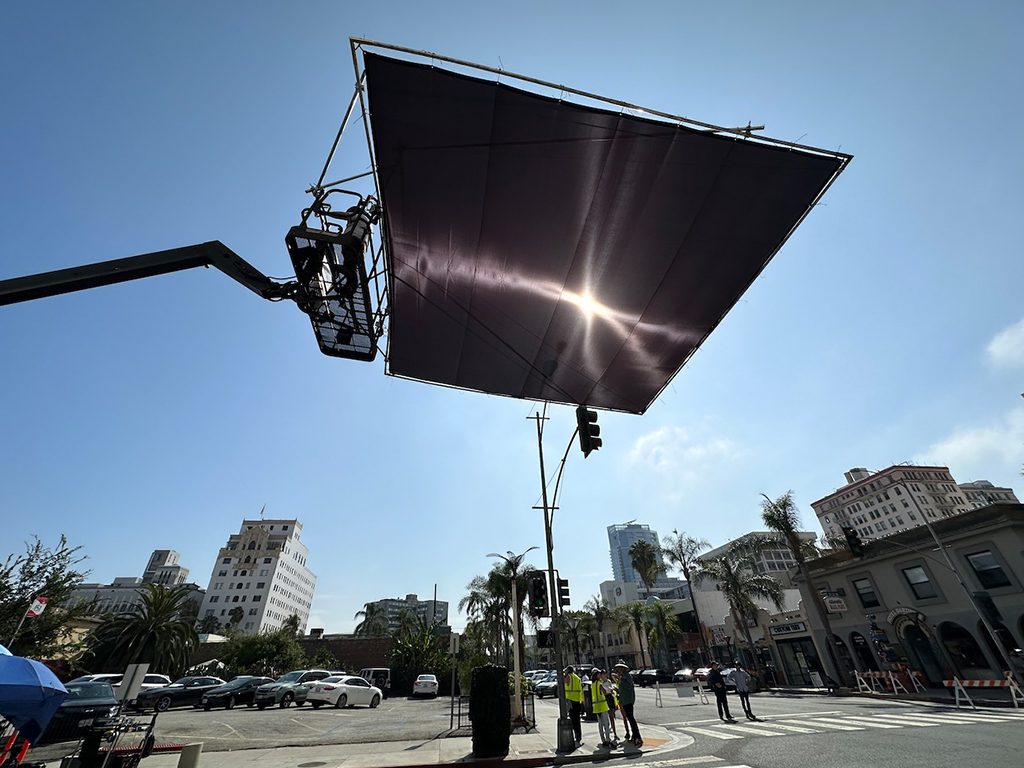
The black silk creates contrast, while giving you a subtle highlight from the sun. This is great if you are backlit, and not so great if the sun is directly overhead or behind you. It’s important to notice that it is not as soft as the grid cloth. One situation where I found it particularly useful was when I needed to block out sky reflections while shooting through a car windshield. Usually I use a solid, especially when shooting on a process trailer, but on a more recent shoot we used the black silk because not only did we need to quickly shoot car interiors,but we also needed to shoot people standing outside the cars.
I encourage you to experiment on your own. I find that my tastes change over time. I have also become more attuned to seeing the subtle lighting differences different rag choices bring to the scene.
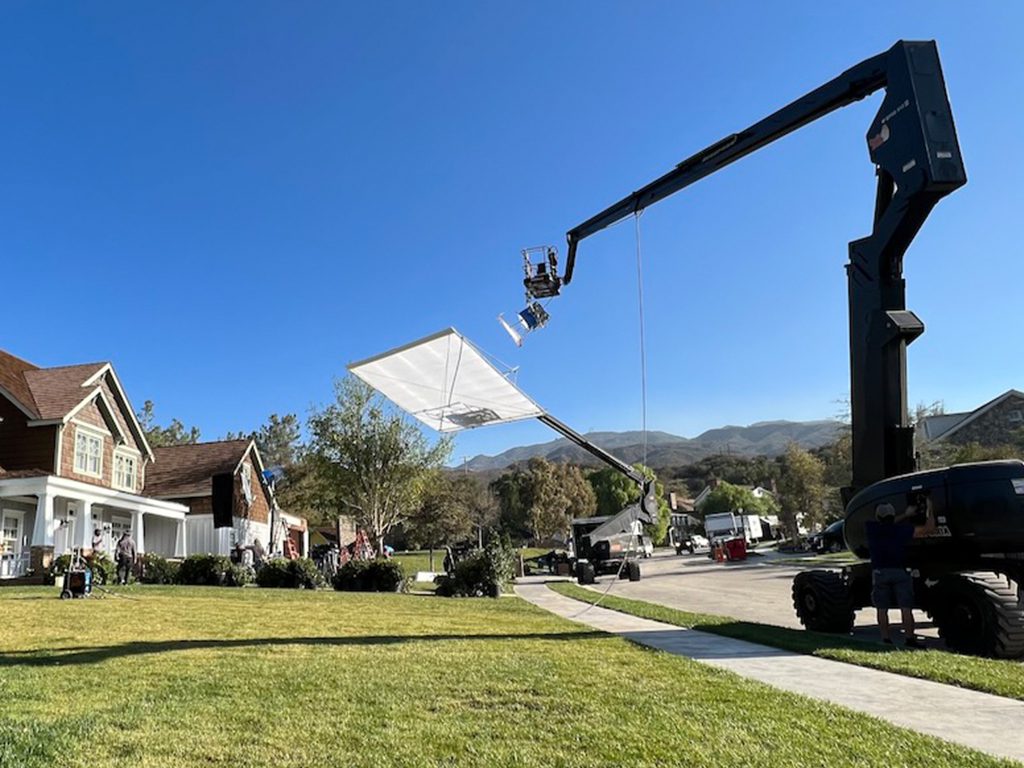
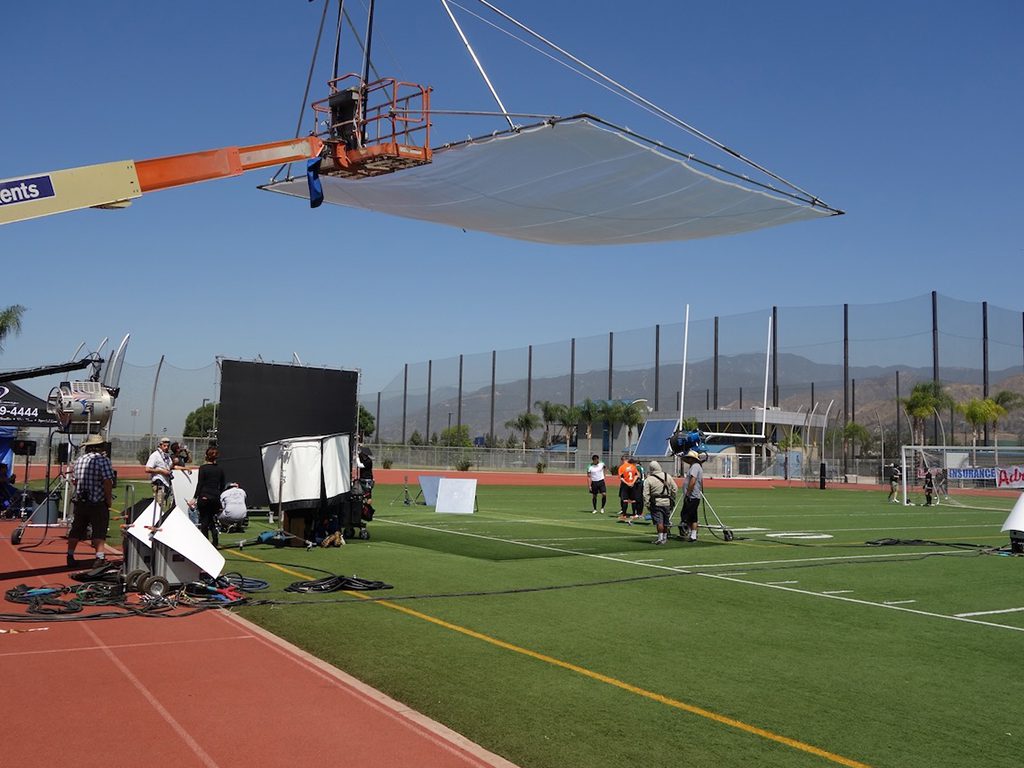
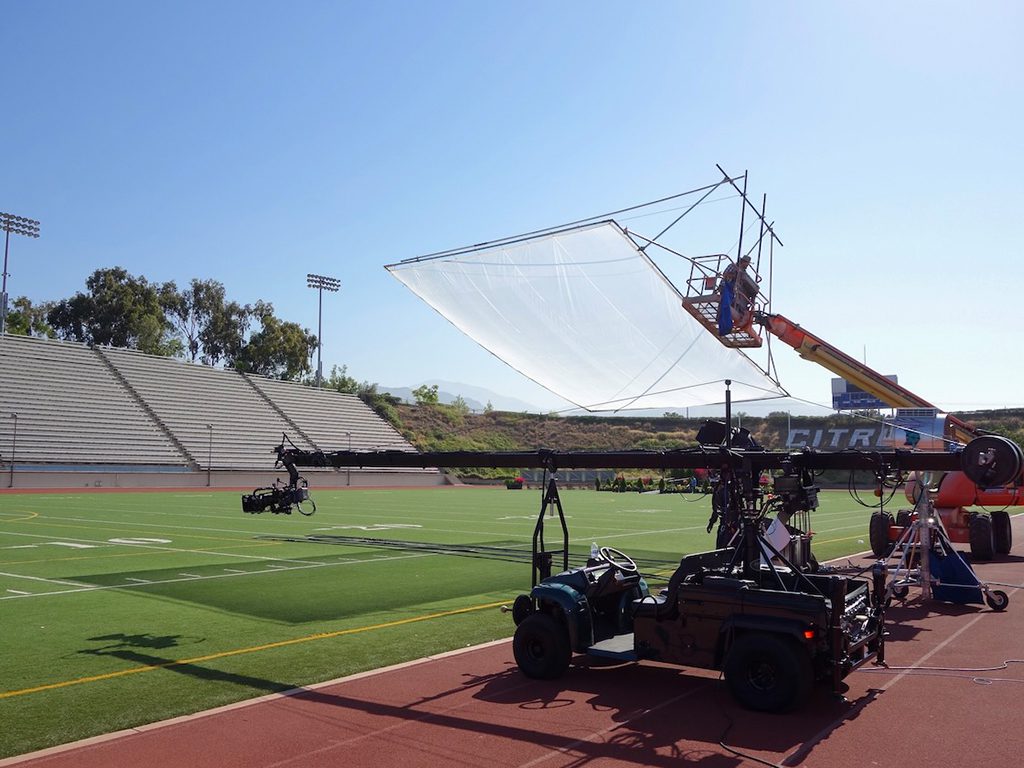
As a side note, when we have a large area to cover, such as a 20’x20’, and the stands will likely get into the shot, if we have the budget we will rig the overhead off a crane. We call this a “Flyswatter”. I recommend a crane that has at least an 80’ arm so the base is heavy enough to be safe. The crane with deliver should cost just under $2,000, and a Key rigger plus 2 can usually build it in about 2.5 hours.
A few hot tips:
- The higher you can get your overhead, the more ambient you allow into the scene.
- The pro key grip keeps an anemometer in the condor bucket to continuously monitor wind speed for safety.